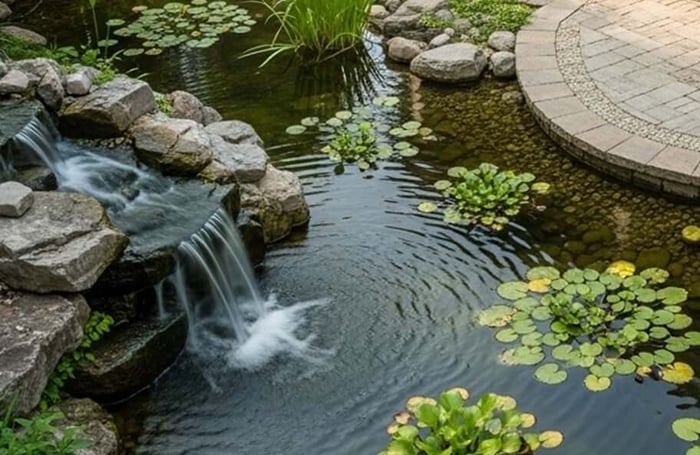
Step 1: Plan Your Koi Pond Location
- 4–6 hours of sunlight daily
- Good visibility from your home or patio
- Minimal tree cover to reduce falling debris
- Access to power for pumps and filters
- Tip: Always check local building codes or HOA rules before you dig.
Step 2: Determine Size & Depth
- At least 3 feet deep (to protect fish and stabilize temperature)
- Minimum 1,000 gallons in volume
- Larger if you plan to house many koi or grow them to full size
- Use a pond volume calculator to determine the appropriate size.

Step 3: Choose the Right Pond Liner
A high-quality pond liner forms the foundation of your koi pond. Look for options that are:
- Fish-safe
- UV-resistant
- Flexible for irregular shapes
Explore Liner Options:
Step 4: Select the Right Filtration System
Keeping your koi pond clean and healthy requires a combination of mechanical and biological filtration.
- Pressurized Bead Filters – Ideal for large ponds; low maintenance.
- Gravity Flow Filters – Great for medium to large koi ponds with waterfalls.
- Submersible Filters – Perfect for small ponds or beginner setups.
Step 5: Install the Proper Pond Pump
A pond pump circulates water through your filter and to waterfalls.
- Submersible Pumps – Easy installation, good for small to medium ponds.
- External Pumps – High efficiency for large, feature-heavy ponds.
Choose a pump that circulates your pond volume once every 1–2 hours.
Step 6: Add Aeration
- A pond aerator or air pump
- A decorative fountain display
These also enhance beauty and water clarity.
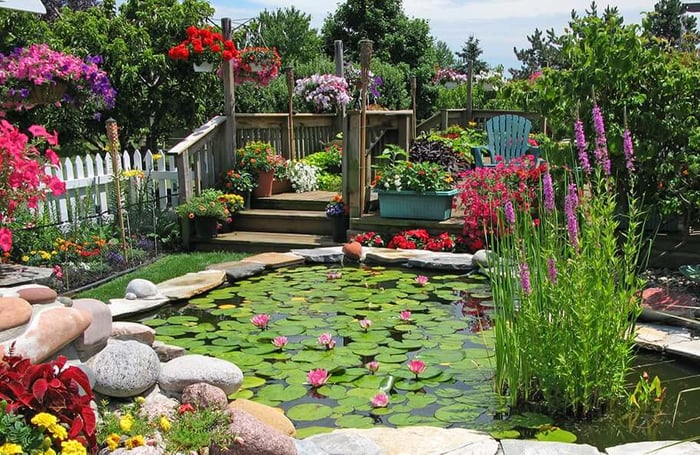
Step 7: Decorate with Aquatic Plants
Aquatic plants add beauty and help naturally filter your pond. Types include:
- Floating Plants (e.g. water lettuce, hyacinth)
- Submerged Plants (oxygenators like hornwort)
- Marginal Plants (placed around edges)
- Water Lilies (shade and visual appeal)
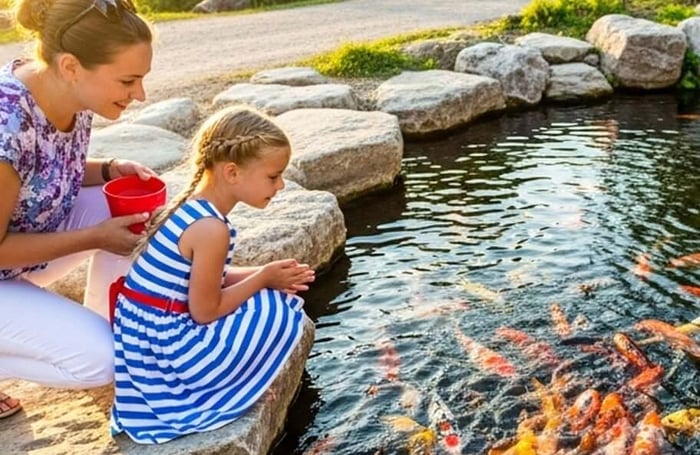
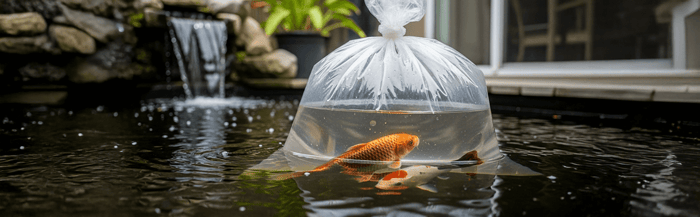
Step 8: Introduce Your Koi
- After cycling your pond (1–2 weeks with filter running):
- Add koi gradually
- Acclimate them to water temperature
- Monitor for stress and check water quality regularly
Koi can live decades with proper care—treat them as long-term companions.
Step 9: Pond Maintenance & Upkeep
Weekly:
- Remove debris
- Add beneficial bacteria
- Check filter and pump operation
- Test water quality
Seasonal:
- Use netting to cover the pond in the fall
- Use a pond de-icer or aerator in winter for gas exchange
- Perform partial water changes
Backyard Koi Pond Starter Checklist
- ▢ Choose pond location
- ▢ Calculate pond volume and depth
- ▢ Select 45 Mil EPDM liner
- ▢ Choose pump and filter combo
- ▢ Add aeration
- ▢ Add aquatic plants
- ▢ Acclimate and introduce koi
- ▢ Maintain weekly and seasonally
Filter Comparison Table
| Feature | Pressurized Bead Filter | Gravity Flow Filter | Submersible Filter |
|---|---|---|---|
| Best For | Medium to large, heavily stocked ponds | Medium to large ponds | Small or beginner ponds |
| Maintenance | Easy backflush | Moderate | Frequent cleaning |
| Installation | Above or partially buried | Above water level | Drop-in DIY |
| Cost | Mid-range to high | High | Budget-friendly |
| Link | View | View | View |
Frequently Asked Questions
Q: How deep should a koi pond be?
A: At least 3 feet deep to protect koi from predators and to stabilize temperature.
Q: What is the best liner for koi ponds?
A: A 45 Mil EPDM liner like Pondgard or DuraLiner is flexible, UV-resistant, and fish-safe.
Q: What kind of filter should I use?
A: Use a combination filter. Choose from pressurized, gravity flow, or submersible depending on your pond size.
Q: Can I build a koi pond myself?
A: Yes! With the right tools and guides, DIY koi pond builds are absolutely achievable.
Q: How do I winterize a koi pond?
A: Stop feeding koi under 40°F, install a de-icer or aeration system to ensure gas exchange.