![How to Build a Backyard Pond [+ Your Supply Checklist]](https://dropinblog.net/cdn-cgi/image/fit=scale-down,format=auto,width=700/34257639/files/backyard-pond.jpg)
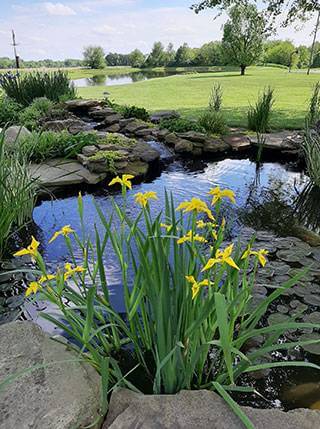
Imagine a backyard pond. The water ripples and irises sway in the wind. Sunshine sparkles on the surface and warms your shoulder. A frog leaps and takes refuge in a fully bloomed lily.
If the serenity of a backyard pond is calling you, then you’ve landed in the right place to make it a reality! In this article we cover all of the basic steps you’ll need to take to build your very own backyard pond. Plus you can get a free copy of our supply checklist here. You don’t have to be an expert water gardener to get started (although we know you can get there!). Follow the steps outlined below, and you’ll be well on your way to enjoying an outdoor oasis. And if you need any help along the way reach out to us. We're here to make this journey easier for you!
1. Decide what kind of pond you want to build
Do you want a small, medium or large pond?
Small ponds have less physical space to care for, but they can actually be more work in terms of keeping the water healthy. Ecosystems in medium and large ponds can be more self-sustaining over time. Of course, the size you pursue could be dependent upon the amount of yard space you want to dedicate to the project, too.
Do you prefer a contemporary or natural look?
There are two very distinct styles of ponds to choose between: contemporary or natural. Contemporary ponds are referred to as formal ponds and are usually geometric in shape (square or rectangle). They also tend to have a more man-made look and feel and are often lined with concrete or rubber liner. On the other hand, natural style ponds are made to look more like nature. The pond shapes are organic, lined with a rubber liner and perimeters are outlined with stone and rock.
Do you want fish?
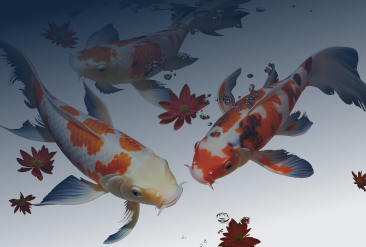
Fish add a lot of fun and life to a pond. Understandably though they add more time and commitment. If you do decide you’d like to add fish the most common for backyard ponds are koi and goldfish, and if you want to take the path least taken add some golden orfe. (Of course larger ponds used for recreational fishing stock different types of fish, but we’ll write a separate post on stocking ponds and lakes in the future. Right now we’re talking backyard beauty.)
How much time do you want to invest in aquatic plants?
While we encourage owners of natural style ponds to have at least a few plants to keep the water healthy, some decide to take on aquatic plants as more of a hobby and passion. Decide if you want to stick with plants from more of a utilitarian standpoint to keep your water healthy or if you want to add a variety of plants for aesthetics and gardening enjoyment. Of course the more plants you have the more time you will need for caretaking. The great thing here is you can always start out basic and transition into adding more plants over time. At a minimum you will want to add basic submerged oxygenating plants and a few plants that will provide some shade. We recommend starting with anacharis, cabomba and/or foxtail varieties, and add lilies or floating hyacinths to shade the pond and protect fish from predators.
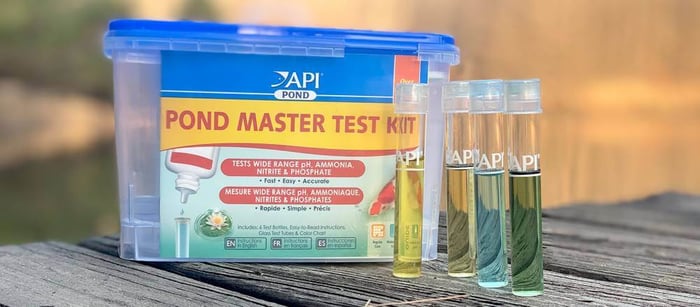
Pro Note: If you do have fish, plants also help with the nitrogen cycle in your pond. Fish waste is toxic ammonia, which later converts to nitrates which plants absorb as nutrients.
2. Choose your location
Now that you know what kind of pond you want to build, it’s time to choose your location. Think about areas of your yard that you can see from your house. It’s always lovely to see your pond from inside your home if that’s an option. Also, if you’d like to have a seating area around your pond, choose a location with room for extras like this and possibly additional landscaping, too. Most importantly don’t pick a low spot. It’s one of the top 3 mistakes to avoid when building a pond. Low spots in yards are where natural runoff water will collect and the introduction of this water can make it difficult to maintain healthy pond water.
3. Start planning your design
Let’s start designing. We know our pond will be organic in shape, but you can have as many or few curves and dips as you like.
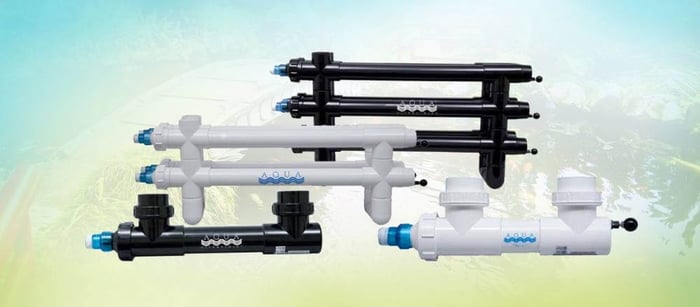
It’s also a good idea to plan for placement of your filter, pump, (skimmer and waterfall if you plan to add these), plants and any exterior decor like additional landscaping or seating. A simple sketch can be useful for this.
Once you have an idea of your shape (sketched out or in your head), grab a garden hose and head to your future pond’s location. You can use the garden hose to layout the perimeter of your pond and to play more with the shape and curves of the outline. Once you’ve created a look you like, use spray paint to paint your pond’s footprint or outline on the ground, spraying alongside the hose and perimeter you created. (Be mindful that you may get some paint on your garden hose. Be careful with your application, or choose a garden hose that you don’t mind getting paint on.)
4. Make the official calls
Before digging call your local utility companies to locate any underground wires. It’s important to dig safely, and of course it’s the law to call before you dig. We also suggest calling your local city or county to inquire about any additional ordinances required in your area (often for requirements like fencing, etc.).
5. Gather Your Materials
Create a checklist of materials needed to build a pond, and determine how you’ll get them. We would love to be your supplier. You can shop for many of your pond needs here on our website. Our professional pond techs are also available for any questions you have along the way. You can use our online chat, give us a call at (866) 819-7663 or send us a message here.
6. Start Digging
You’ve got your plan, you’ve made your calls, and you've gathered your materials. It’s time to put the shovel to the ground (or hire a contractor with a backhoe to make this job tenfolds easier). Dig at an angle to create gradual slopes and better wall stability in your pond. In the center you’ll want your pond depth to be at least 3 feet if you plan to have koi fish. Make sure to dig multiple levels to create plant and rock shelves—different plants require different depths. Make certain these shelves are leveled back slightly so plants and rocks aren’t prone to falling into the pond bottom. Some people choose to do shelves around the entire perimeter of the pond while others opt for notches. As you dig tamp in the dirt to pack it in. Save your dirt for later construction if you plan to build a waterfall.
Pro Tip: When you finish digging add a couple of inches of sand at the bottom of your pond for more cushion between the ground and your underlayment and liner.
7. Line your pond
We recommend dropping in a layer of underlayment before installing your liner. Cut it into manageable strips, as the underlayment is often purchased in large sheets. Layer edges generously over each other to make sure that no gaps are left. Then add your liner. When purchasing a liner, it’s important to take your pond depth into consideration and to plan for overhang around the pond itself. Our calculations for sizing a pond liner already take these considerations into effect, so it’s a great resource to use or reach out to us and we’ll be happy to walk you through it so you can get the size you need for your pond.
8. Add rocks and stone
Let’s rock! You can approach rocking in many ways–there’s no exact science to it, so have fun and choose a style that you like. One approach you can take is to create rock walls from the bottom of your pond all the way to the top (going halfway up works, too). Choose rocks that look natural and try avoiding any with sharp edges. Stability and strength in your walls is key. Next, add your perimeter rock. Keep in mind this will be the most visible rock as most if it will not be submerged, so layout a look that you like.
Here’s a video from contractor Pete Gallo of Philadelphia Waterscapes that shows both lining a pond and one approach to rocking: